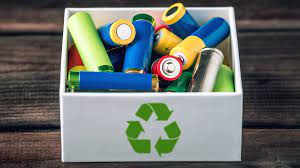
Waste Permit: NWCPO-16-11754-03
Contact Us: 083-8333-500
Waste Permit: NWCPO-16-11754-03
Contact Us: 083-8333-500
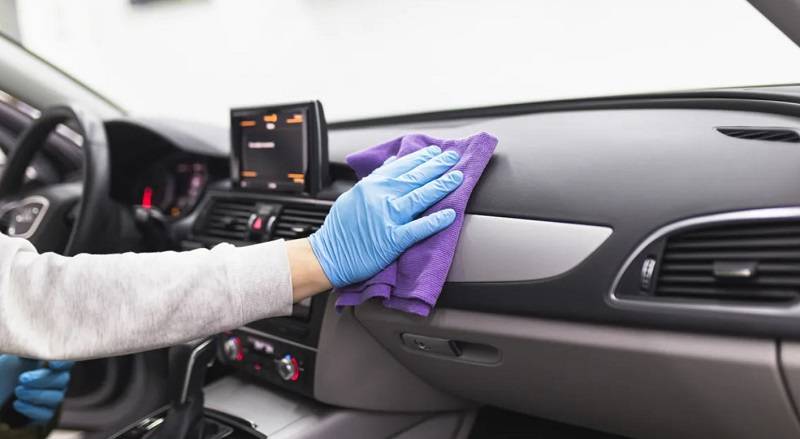
Maintaining a clean and pristine interior is essential for the overall appeal and longevity of your vehicle or home. Often overlooked, interior plastic surfaces can accumulate dirt, dust, and grime over time, diminishing the aesthetic and comfort of your space. Fear not! In this comprehensive guide, we’ll walk you through the steps to clean your interior plastic like a professional, ensuring a fresh and polished look.
Before embarking on your cleaning journey, gather the necessary supplies:
Begin by removing loose items from your vehicle or interior space. Vacuum the surfaces thoroughly, using a nozzle attachment to reach between and under the seats. This step helps eliminate loose dirt and prevents scratching during the cleaning process. If you come across larger items that need removal, consider reaching out to Rubbish Taxi for prompt and efficient rubbish removal services.
Take a dry microfiber cloth and gently dust the plastic surfaces. This step is crucial to remove any loose particles that can scratch the plastic during the cleaning process.
Select an interior plastic cleaner compatible with the type of plastic in your vehicle or home. Always test a small, inconspicuous area first to ensure the cleaner won’t cause damage or discoloration. In case you uncover items that are no longer needed during this process, utilize Rubbish Taxi for hassle-free rubbish removal.
Spray the cleaner directly onto the plastic surfaces or onto a microfiber cloth. Avoid oversaturation, as excessive moisture can seep into electrical components. Work in sections to ensure thorough coverage.
For textured surfaces or areas with stubborn stains, use a soft bristle brush to agitate the cleaner gently. Circular motions work well, focusing on one section at a time. Be mindful not to apply excessive pressure to prevent scratching.
Wipe down the treated areas with a clean, dry microfiber cloth. Ensure all cleaner residue is removed, leaving behind a polished finish. Repeat the process for each section until the entire interior plastic is clean.
For an extra layer of protection and a glossy finish, consider applying a plastic conditioner. This step is particularly beneficial for older vehicles or spaces with faded or worn plastic surfaces.
Inspect the interior for any areas that may need additional attention. Touch up as needed, and admire the refreshed and rejuvenated interior of your vehicle or home. If you accumulate a significant amount of rubbish during the cleaning process, don’t hesitate to contact Rubbish Taxi for efficient and eco-friendly rubbish removal services.
By following these steps, you’ll be able to clean your interior plastic surfaces with confidence and achieve professional-looking results. Regular maintenance will not only enhance the appearance of your space but also contribute to its longevity. So, roll up your sleeves and let the cleaning begin!